In the world of modern convenience and home automation, the entrance to your property shouldn’t be left behind. Automatic sliding gates provide a seamless blend of security and sophistication. If you’re a DIY enthusiast with a penchant for enhancing your property, the introduction of automatic sliding gate kits offers an exciting opportunity. This article will delve into the benefits and insights of choosing a DIY approach to gate installation using automatic sliding kits.
Automatic Sliding Kits: An Overview:
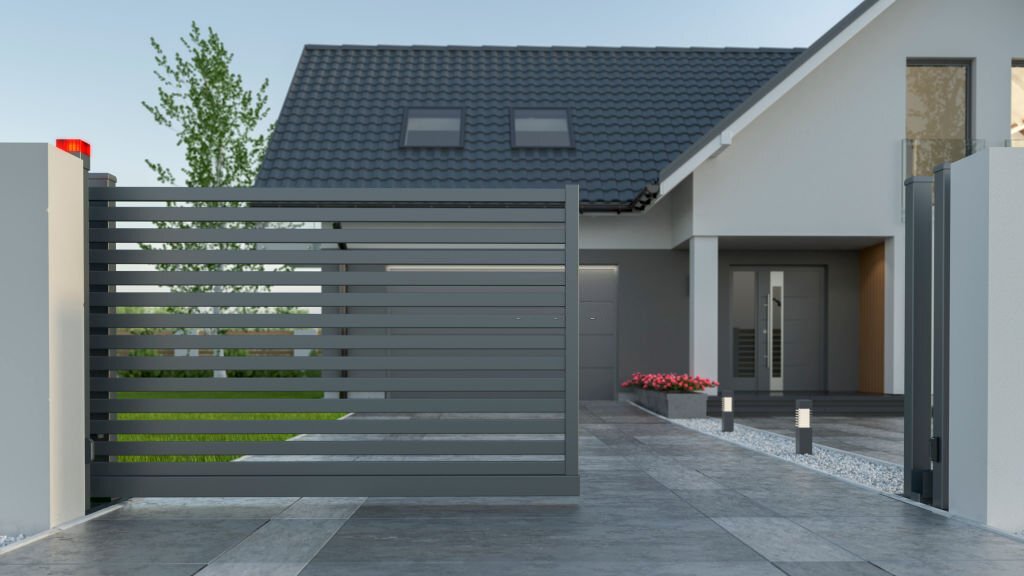
Automatic sliding gate kits are comprehensive packages that equip you with all the components necessary to transform your ordinary gate into an automated marvel. These kits include a motor, gate tracks, control panel, remote controls, safety sensors, and all the essential hardware. They are designed to streamline the process of gate automation, making it accessible even for those without extensive technical expertise.
Key Advantages of DIY Automatic Sliding Kits:
#1. Cost-Effectiveness: Hiring professionals for gate installation can be expensive. Opting for a DIY approach with automatic sliding kits allows you to save significantly on labor costs while still achieving professional results.
#2. Flexibility and Customization: DIY kits give you the freedom to tailor your gate’s automation to your preferences. You can choose the speed, opening width, and even integrate it with existing home automation systems.
#3. Sense of Achievement: Successfully installing an automatic sliding gate with your own hands can be incredibly rewarding. It provides a sense of accomplishment and a deeper connection to your property.
#4. Timeliness: Waiting for professionals to schedule and complete the installation can take time. With a DIY kit, you can complete the installation at your own pace, saving time and reducing disruptions.
Learning Experience: The installation process can be a valuable learning opportunity. You’ll gain insights into the mechanics of gate automation and develop new skills that could prove useful in future DIY projects.
Steps to DIY Automatic Sliding Gate Installation:
#1. Preparation: Before diving into the installation, carefully read the kit’s instructions and familiarize yourself with the components. Gather all necessary tools and safety gear.
#2. Measurements and Alignment: Accurate measurements are crucial to ensure the gate’s smooth operation. Install the gate tracks according to the manufacturer’s specifications and ensure they are aligned correctly.
#3. Mounting the Motor: Attach the motor to the gate and ensure it is securely fastened. Follow the provided instructions for wiring and connecting the control panel.
#4. Gate Attachment: Carefully attach the gate to the tracks, ensuring it moves smoothly along the path. Adjustments might be necessary to achieve optimal alignment.
#5. Wiring and Sensors: Connect the safety sensors and follow the wiring instructions for the control panel. Testing the safety features is critical to ensure the gate reverses when an obstruction is detected.
#6. Remote Control Setup: Program the remote controls according to the instructions provided. Test the remote controls and ensure they operate the gate as intended.
Conclusion:
Embracing the DIY approach to automatic sliding gate installation with the aid of comprehensive kits empowers homeowners to enhance their property’s security and aesthetic appeal. The benefits of cost-effectiveness, customization, personal satisfaction, and the opportunity to develop new skills make this choice an attractive one. By following the steps provided in the kit’s instructions and paying meticulous attention to detail, you can transform your property’s entrance into a sophisticated and convenient gateway. With DIY automatic sliding gate kits, you’re not just installing a gate; you’re creating an entryway that reflects your ingenuity and modern living preferences.
For more useful information available at https://www.lovelyhomestory.com/